New Hobby

One of my favorite ways to kill time when I’m supposed to be doing something productive is to look at furniture painting blogs. I enjoy painting (rooms, not art) and have been wanting to try this popular hobby. My first project was an armoire that I painted red. I’ll search for pictures and post them later. I used regular latex paint for that, but I’ve really been wanting to try chalk paint. I found an antique store across the border in Washington that sells Annie Sloan Chalk Paint and paid a ridiculous amount of money for it. (Brace yourself….$38.50 for a quart. I know, I know. I just wanted to be like all the other crafty, painting girls.)


So here we go:  Today’s project is a buffet I picked up at the above mentioned antique store.

IMG_0417       IMG_0418

IMG_0419       IMG_0415

The only prep was sanding down a couple of  spots on the top to smooth the transition from the raw wood to the finished area.

IMG_0421         IMG_0423


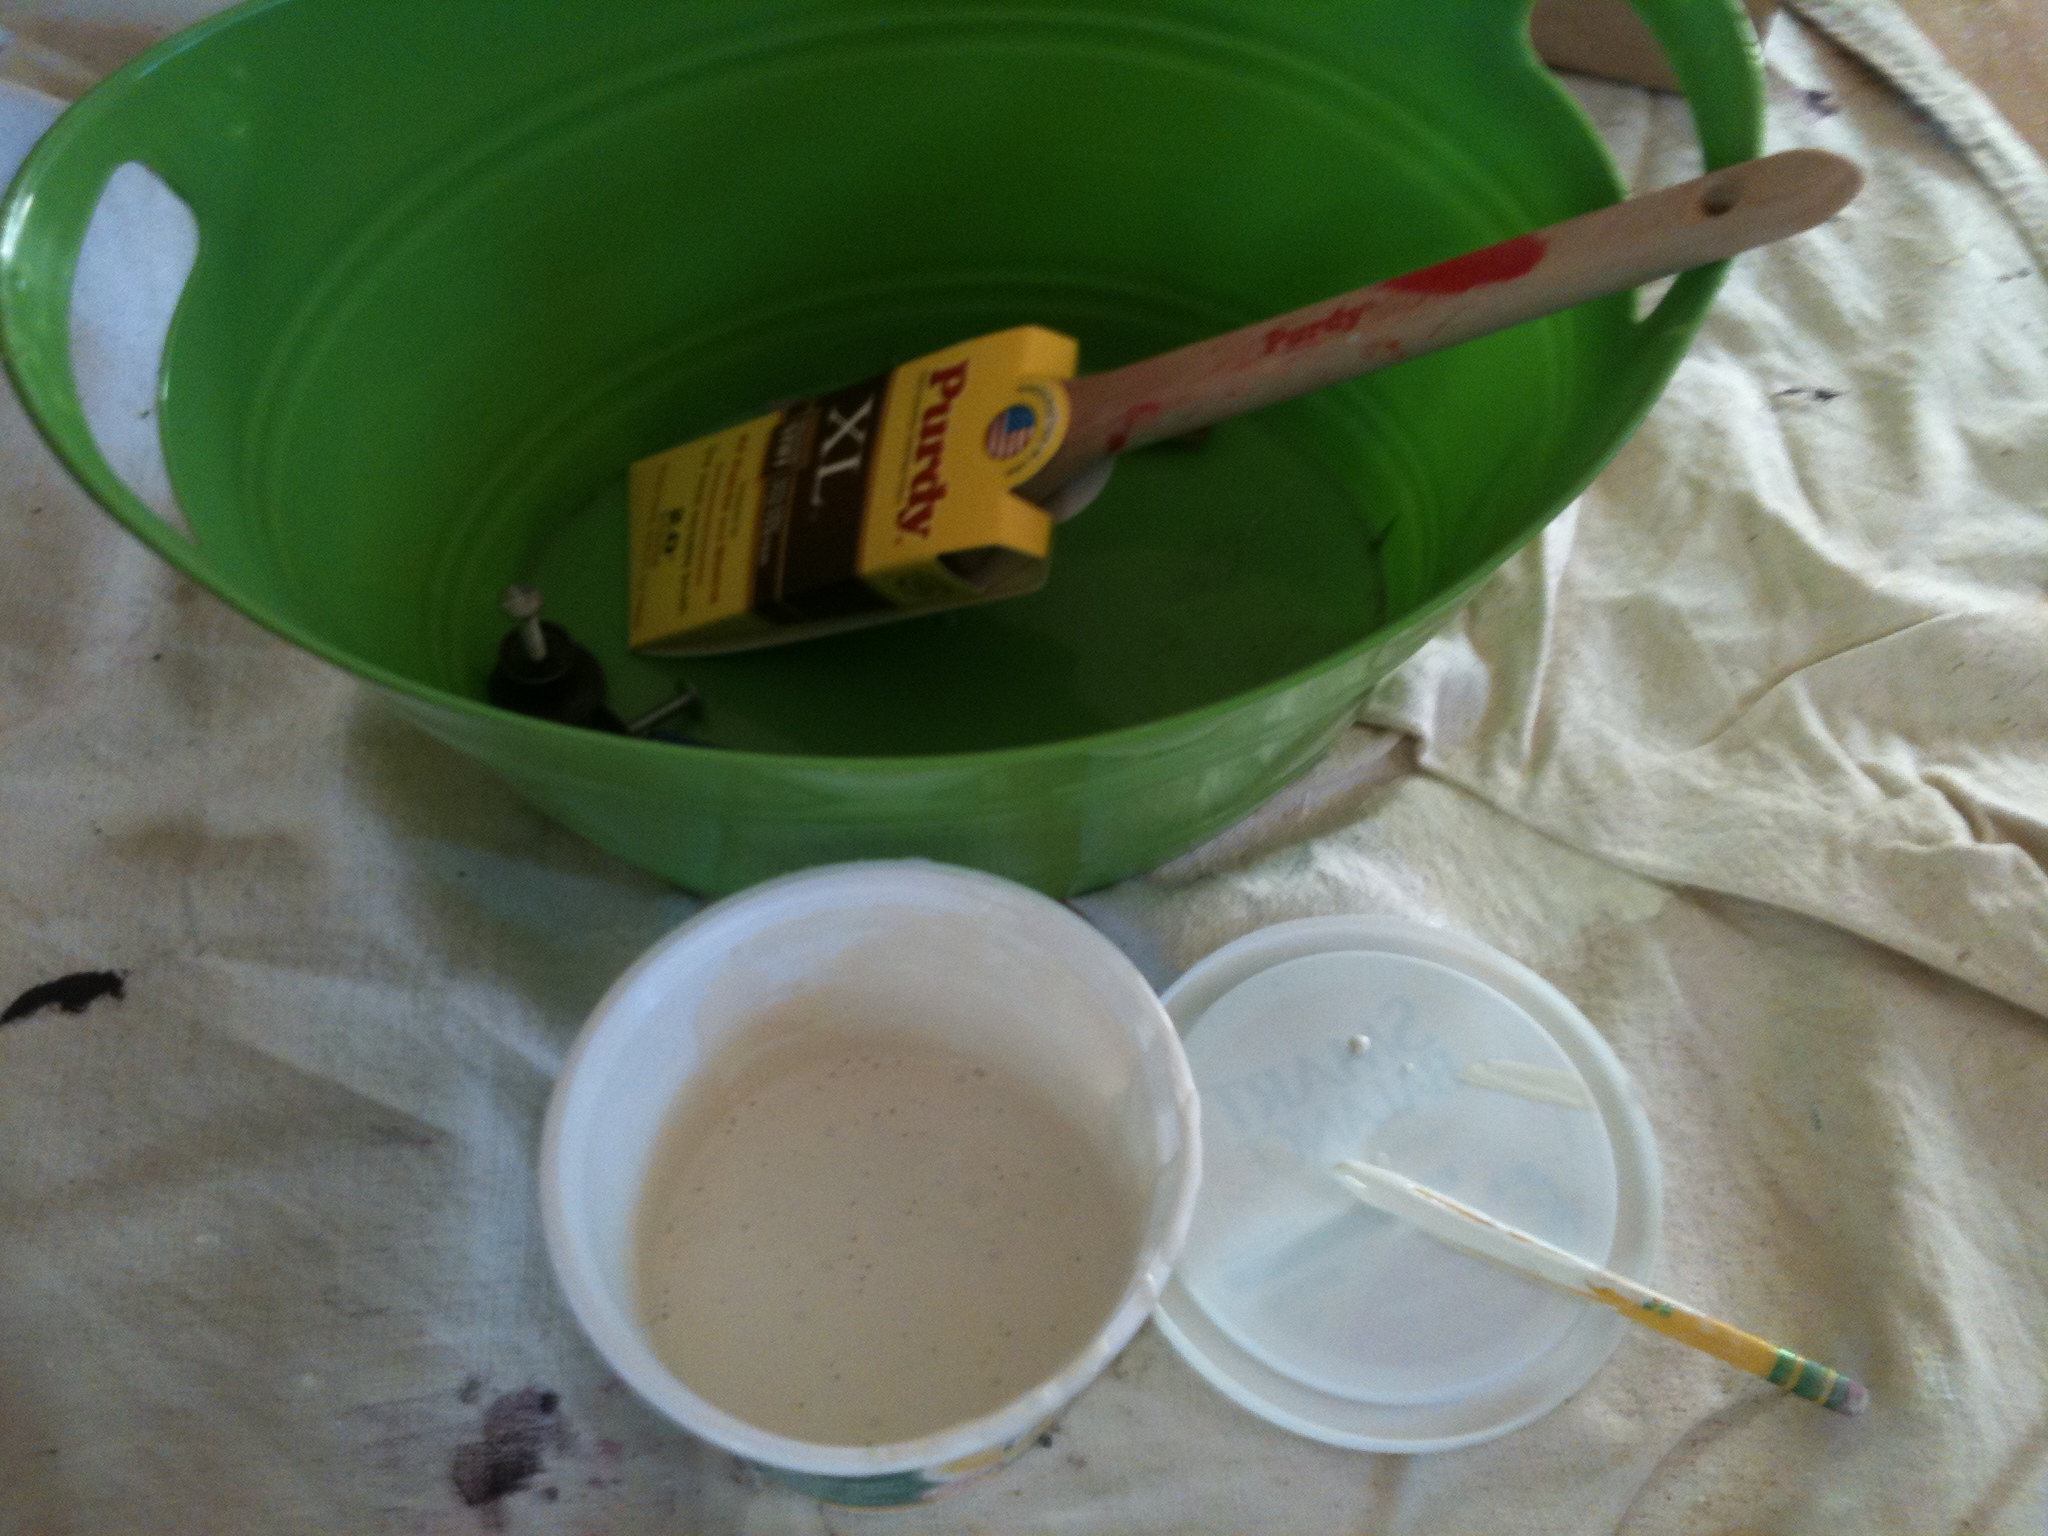
I chose Old White. It’s pretty thick so I thought I should thin it down a bit with water. Notice that I’m using a pencil for a stir stick? I grabbed the first thing I could find.

IMG_0424         IMG_0429

I forget how long my daughter helped before she decided that the fun had become work.

It’s funny the imperfections you see once there’s a coat of paint on. I noticed that there was a piece of tape on the front. I peeled it off, but then the dresser needed a second coat for sure.

IMG_0427        IMG_0428

When I was finished, I could tell there was a problem. Chalk paint is supposed to cover in one coat. I probably shouldn’t have thinned it. Too much of the wood was showing through. I ended up painting another, unthinned coat, but the top of the buffet still didn’t look right. I could tell the difference between the wood that was raw and the wood with the finish on it. I lightly sanded the paint, vacuumed the dresser, and proceeded to the step that you’re not supposed to have to do:

Primer.  I dug through the garage then painted a coat of sandable primer on the top. Another light sanding, vacuuming, and wiping down with an old t-shirt. One last coat of ASCP on the top and things were looking good!

DSCN1595          DSCN1594

DSCN1593          DSCN1592

I used a fine sanding sponge to distress the edges. I sanded extra around the holes where I still need to add knobs and pulls. That’s what’s so great about chalk paint. It’s super easy to distress. The paint comes off in a fine, chalky powder.

After vacuuming and wiping the dresser down again, I rubbed Annie Sloan Clear Wax over everything. I did an extra coat on the top. I think when I rubbed the wax in that it took some of the paint off. It actually helped give the buffet some  depth and dimension.

Here she is. She just needs to accessorize with some hardware.


While doing this project I realized how much my husband loves me. The dresser stood in the middle of the living room with the drawers spread around on a drop cloth over the entire weekend. Not one complaint.  A few days into the next week, my husband helped me drag it into the kitchen because the lighting was better. I then proceeded to fill the kitchen with dust and fumes as I sanded and waxed.

In the end it was all worth it because my family thinks my little buffet is cute. Aaaw!


Laundry Hamper

I used to sew clothes for my girls when they were little. When they were babies, they wore whatever I made of course. Then they got old enough to choose their patterns and fabric. It was so fun until I finished the outfits and they decided they didn’t like them after all. Grrrr!

Nowadays, I sew for inanimate objects. The window never complains that the curtain is too short. The table never whines that the tablecloth makes its legs look fat.

My latest project is a basket liner. I found a basket in the garage to use as my hamper, but my clothes kept getting snagged on the inside. I’ve been kicking the idea around of making drop cloth slipcovers, so I already had a drop cloth bleached and washed for my fabric.

Basically, I measured that bottom of the basket and added 1/2 inch seam allowances on each side. I did the same thing for the sides.

The nice thing about this project, is that it doesn’t have to fit perfect. Who’s ever going to see it? Mine turned out a little big, but that has worked out well. The liner doesn’t fall into the basket when I throw clothes in it.

The drop cloth is pretty ravelly (is that a word), so I serged the seam together.

Originally, I thought I’d tie the flaps together at the corners, but the handle required that I make the side flap narrow. It works just fine the way it is, though.

Here’s a closeup of how the pieces fit together. Because the basket didn’t have sharp, perpendicular corners, seams just end up wherever. It’s all good.

The liner was just too boring, so I added this embroidery stitch available on my sewing machine.

There she is. Seems a shame to throw my dirty undies in it.

A Tea Cozy

It’s funny when you spend six to eight hours a day with a coworker, you start to notice the little things that make them unique and interesting. Some people start their day with a cup of coffee.  My coworker, “T”, sits day after day with a pint size mason jar filled with tea and milk. I’ve never heard of anyone drinking that particular concoction.

A few weeks ago when we probably should have been working, another coworker started good naturedly ribbing T about his odd drinking mug. T was unapologetic and pointed out the superior traits of his mason jar over a Starbucks travel mug. For example, you can put a screw top lid on it, and it doesn’t leak if the jar gets knocked over. T had to concede that his tea jar has one major drawback; it gets hot!

The day the jar debate occurred, I happened to be wearing a scarf I had knitted. I was joking around and wrapped the end of my scarf around the jar.

All you need is a jar cozy, T. I’ll just knit you one. 

To complete the joke, I used some leftover gray yarn from my son’s scarf and created a little mason jar sweater. I gave it to T today wrapped around a jar from my mom’s canning stash. T insists he’s going to use it.

Hmmm….maybe I should make T a shawl or something next. 🙂

Projects, Puttering, and Puns

This weekend I kept trying to find the the enthusiasm to paint a hutch I bought a few weeks ago. I think my fibromyalgia was acting up because I was just too tired. I remembered a great post about puttering from Just Make The Coffee and devoted my weekend wholeheartedly to the endeavor.  (You can check out the blog here.)

I tried out a new recipe that I planned on blogging about, but it turned out to be inedible. It sat on the counter for half a day before my son had the courage to ask if he could throw it out.

Later, there was a pizza lunch with my daughter and her friend, a trip to the thrift store, then home to do laundry. No schedule. No pressure.

I watched my daughter’s riding lesson which consisted mostly of her trying out a couple of used saddles. (I think she’s tired of bareback lessons in the rain.) I don’t know how long it took me to notice the new hitching post her horse was tied to. My husband started and finished this project on Friday apparently. I don’t think he’s heard of  puttering. Here are some pics he took.

I seriously think it's time to invest in an easier and more efficient post hole digger.
Time for the Christmas lights to come down perhaps?

My husband was describing to me how quickly and problem free everything came together. There were no smashed thumbs, thrown objects or cursing. Now for the pun: I pointed out that his project went without a hitch. I laughed hysterically at my own joke. (I always do.) Lame I know, but my hubby is a huge fan of puns.

Not to be outdone, I finished an easy project that I started in December.

I originally bought this fabric to make a nightgown. They ended up as pajama pants. They’re flannel on the inside and silky on the outside. My daughter loves them. Hurray!

All that left for Sunday was a nap. I can handle that.